Keycloak, Vault and Consul Integration
So, I recently picked up a cool project on Freelancer (link) that involved integrating three powerful tools: Keycloak, Vault, and Consul. These are three powerful tools used for identity and access management, secrets management, and service discovery, respectively. If you’re scratching your head and wondering, “What the heck are those?” don’t worry – I’ll walk you through the wild ride of setting them up, with all the bumps and fun along the way. Grab some popcorn, because this is going to be a fun one!
The Setup
First things first – let’s talk tools. These bad boys aren’t the usual plug-and-play apps. They’re more like the cool, techy superheroes of the DevOps world. Here’s a quick rundown of the dream team I had to assemble:
- Keycloak: This is your go-to for identity and access management. Think of it as the bouncer at a super exclusive party, only letting in the right people (or apps).
- Vault: Vault is like a safe where you keep your most valuable secrets. In this case, that means all your API keys, tokens, and sensitive data.
- Consul: The service discovery wizard. It helps all the services talk to each other by knowing where each one is at any given time.
But before I could get these tools to play nice with each other, I needed a few things to make the magic happen:
- Docker (at least version 26.0.0, no pressure)
- Docker Compose (version 2.26.0 or higher)
- OpenSSL (because certificates are life)
- A handful of Linux utilities (you know,
cat,grep,chmod, etc.)
Heads Up!
If you’re planning on following along, make sure you’re in the
keycloak-vault-consuldirectory when running any of the commands. It’s like the secret lair for this whole setup.
Creating Certificates Like a Pro
The first step was to get our hands dirty with certificates. Both Keycloak and Vault are picky about security, so I had to make sure I had valid certificates. The solution? I created my own Certificate Authority (CA) and generated some certificates. Pretty standard stuff, but it felt like I was creating my own digital kingdom.
make certificate

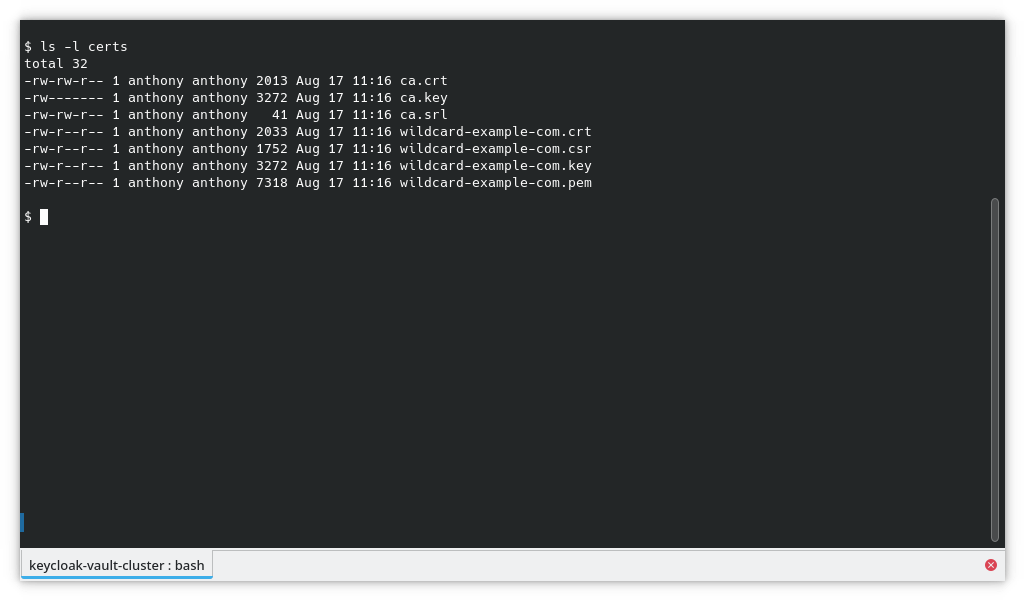
Boom – certificates are ready! You can find them in the certs directory. Trust me, it’s like a treasure chest full of digital gold.
ls -l certs
Starting the Party: Bringing All Containers Online
Now that I had the certificates, it was time to fire up the containers. I needed:
- Keycloak with PostgreSQL as its database.
- Two Vault instances running with Consul as the backend storage.
- HAProxy to balance the Vault load.
It’s like getting all the players on the field for a big game. I ran this command to start everything up:
make up
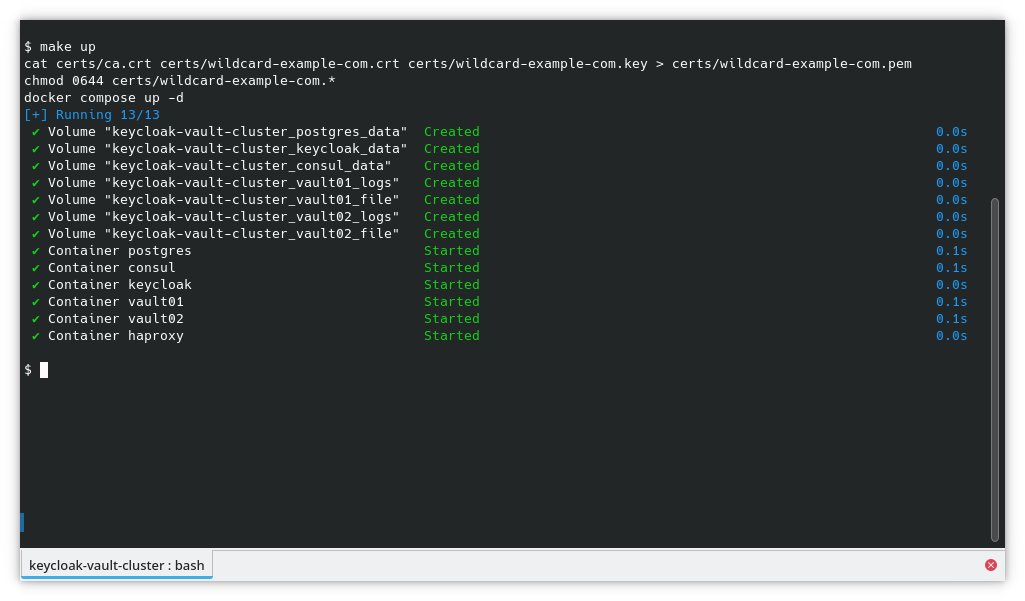
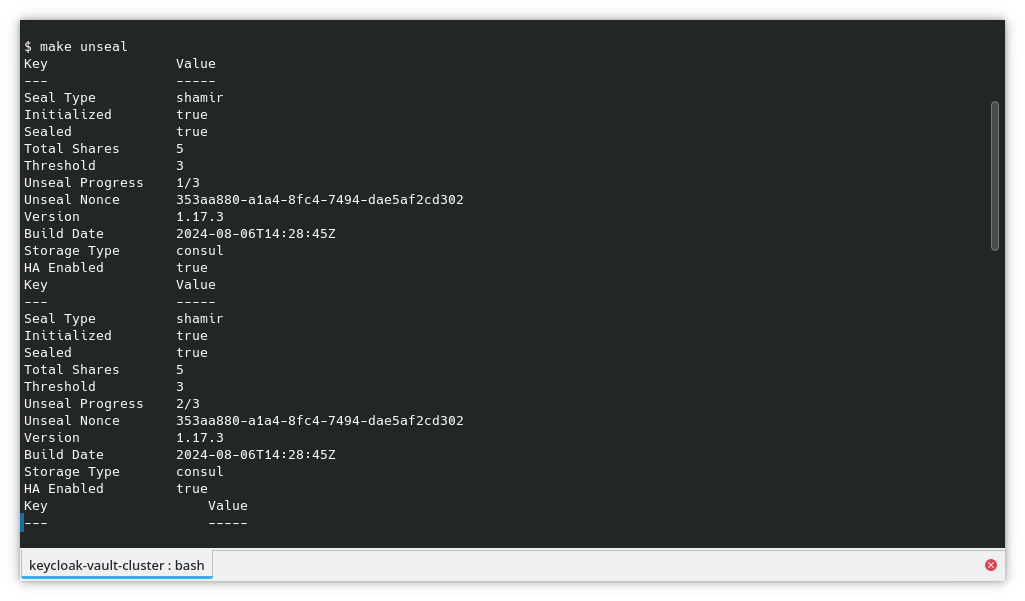
And just like that, I had a shiny new environment running. But wait – we’re not done! Vault needs to be “unsealed” every time it starts up. That’s Vault’s version of “waking up” from its slumber. So I ran:
make unseal
Getting the VIP Info
Now that the containers were up and running, I needed to grab some useful info, like container IPs and the Vault root token. This command did the trick:
make info
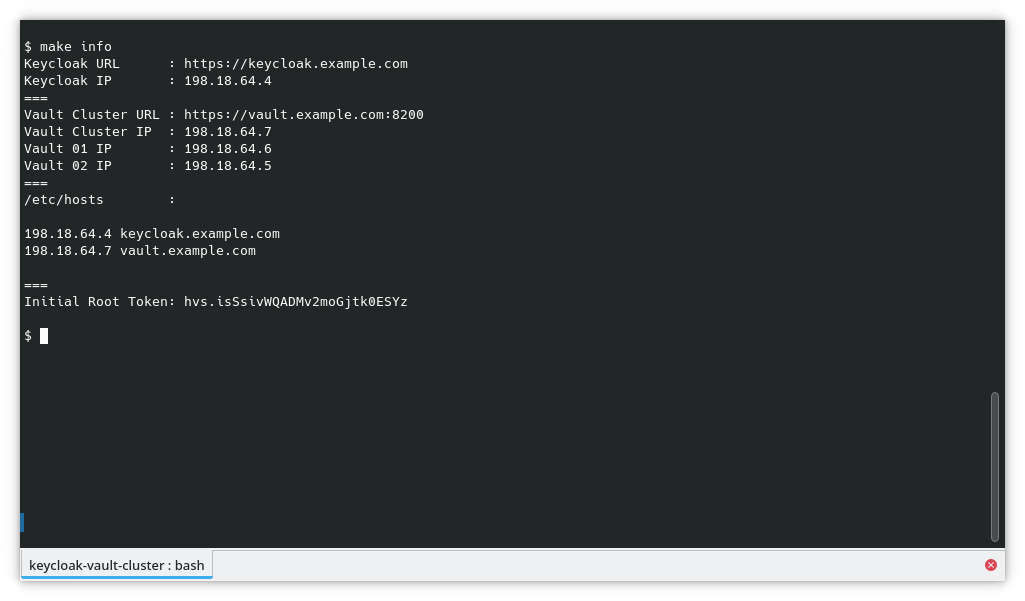
It spit out a bunch of useful details, including IPs and Vault’s root token. I added these IPs to my /etc/hosts file so I could easily access the services via their friendly URLs:
# /etc/hosts
198.18.64.4 keycloak.example.com
198.18.64.7 vault.example.com
Pro Tip!
If you’re on Docker Desktop (Windows or Mac), use
127.0.0.1instead of the IP addresses. Otherwise, your containers might not play nice. Eg.# /etc/hosts … 127.0.0.1 keycloak.example.com vault.example.com …
Keycloak Setup: Making Friends with Vault
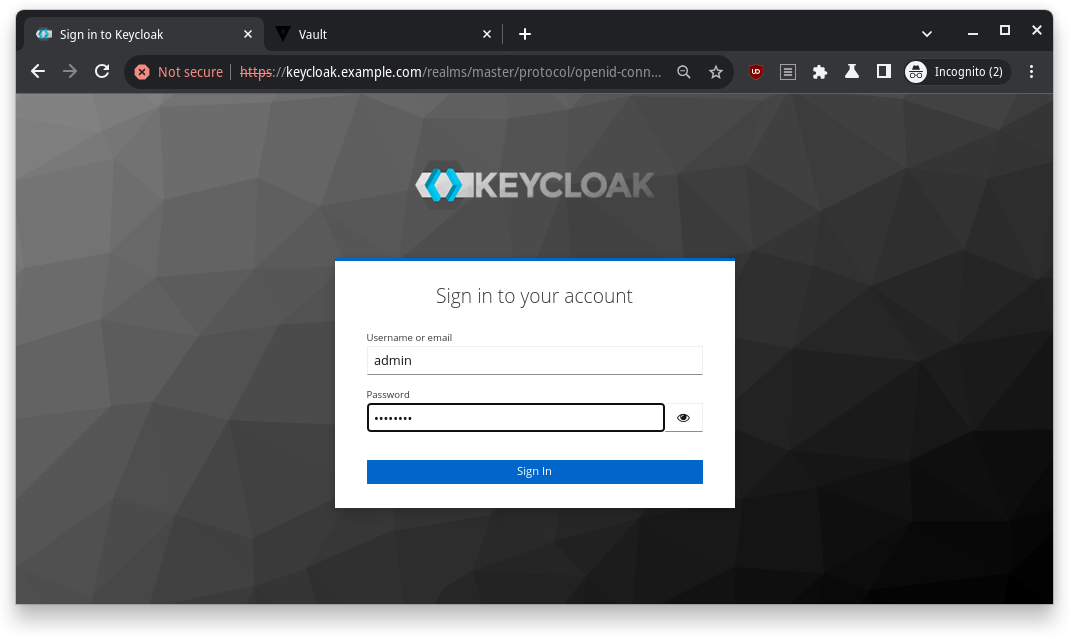
Time to jump into Keycloak. I logged in to the Keycloak admin panel at https://keycloak.example.com, using the username admin and password password (don’t worry, you can change these later).
Pro Tip!
You can customize the admin credentials in the docker-compose.yaml file. Super convenient if you’re into that sort of thing.
# docker-compose.yaml
…
  keycloak:
    image: quay.io/keycloak/keycloak:25.0
    container_name: keycloak
    environment:
      KEYCLOAK_ADMIN: admin
      KEYCLOAK_ADMIN_PASSWORD: password
…
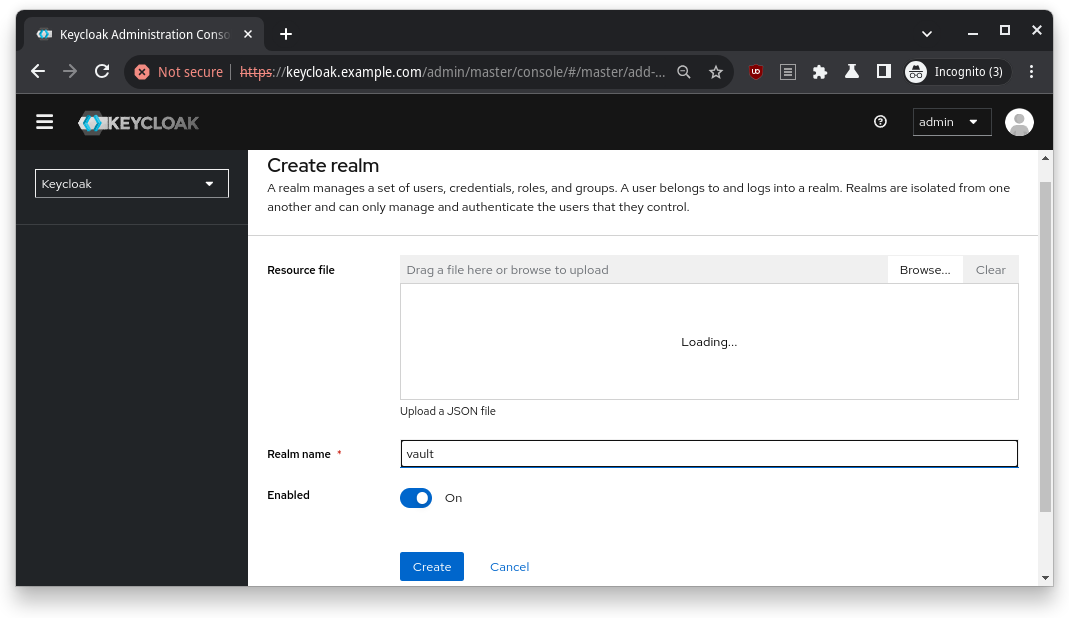
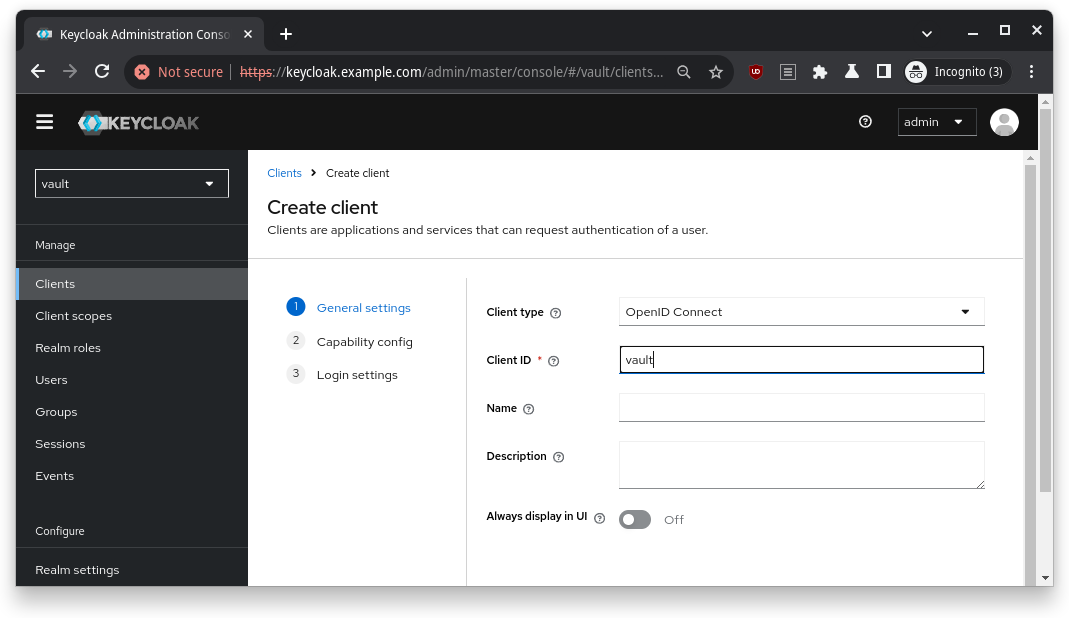
First task: create a new realm. In Keycloak, realms are like separate islands where your users and clients live.
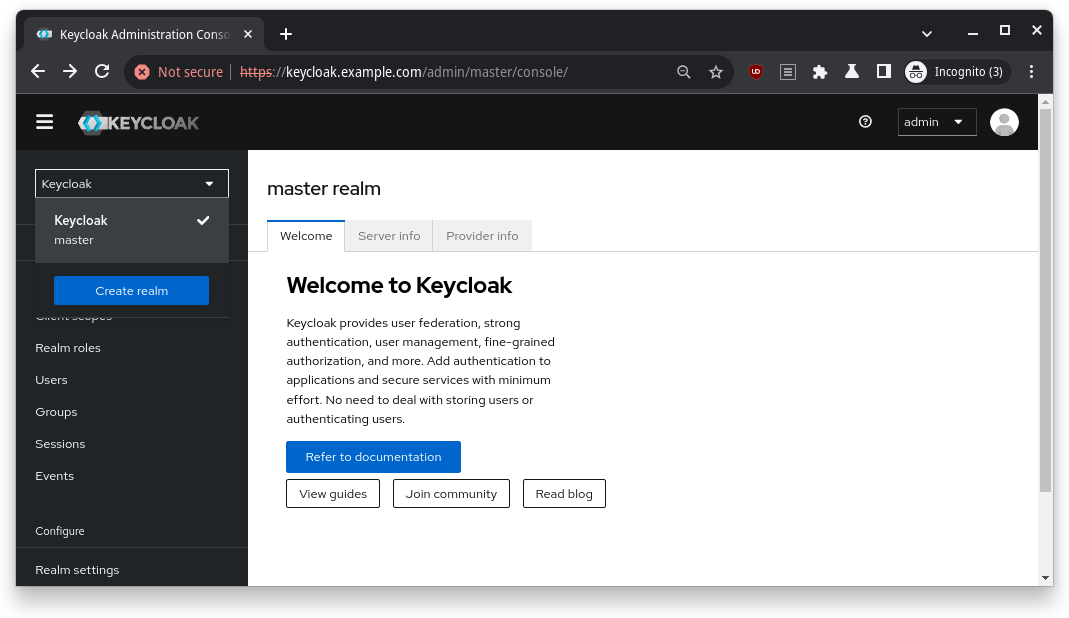
I clicked the Create Realm button and called mine vault (how original, right?).
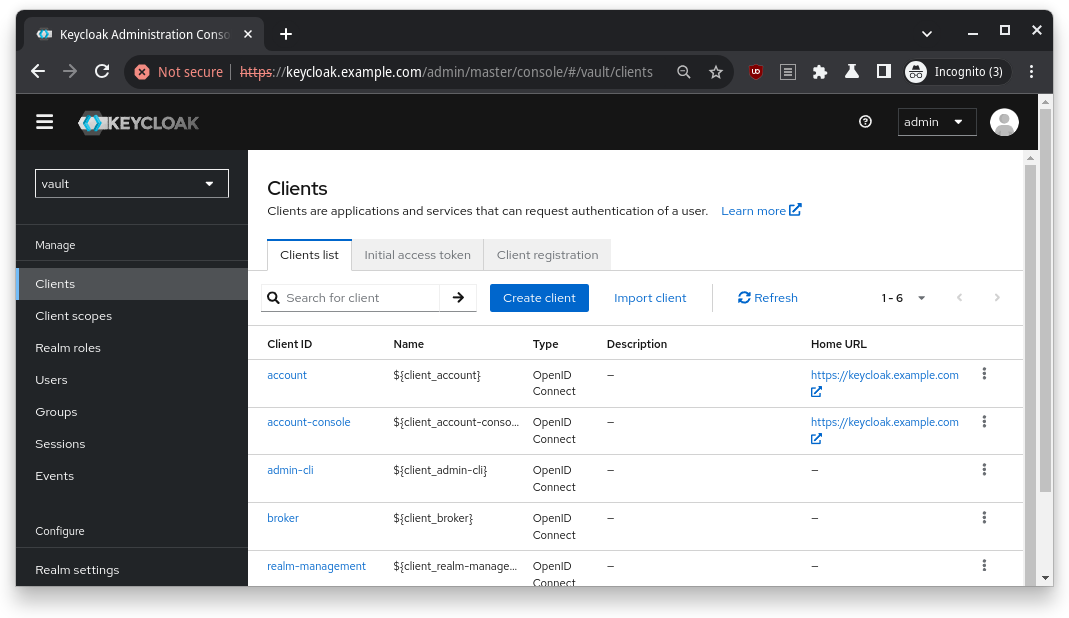
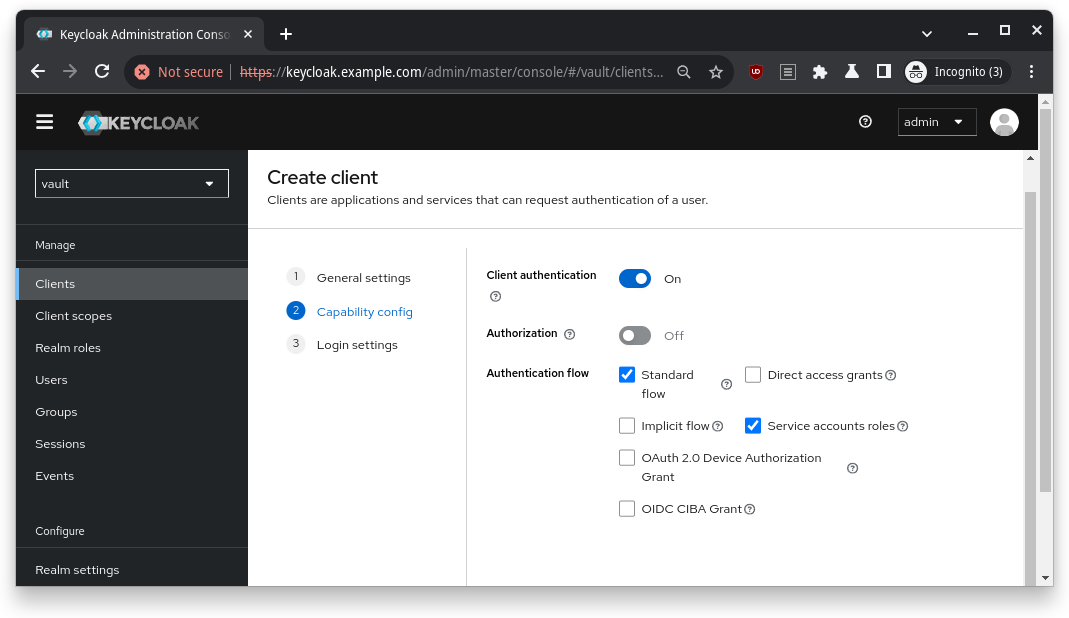
Next, I created an OIDC client (basically a “passport” for Vault to authenticate through Keycloak). I named the Client ID vault, checked the authentication options, and added a couple of redirect URIs (more on that later).
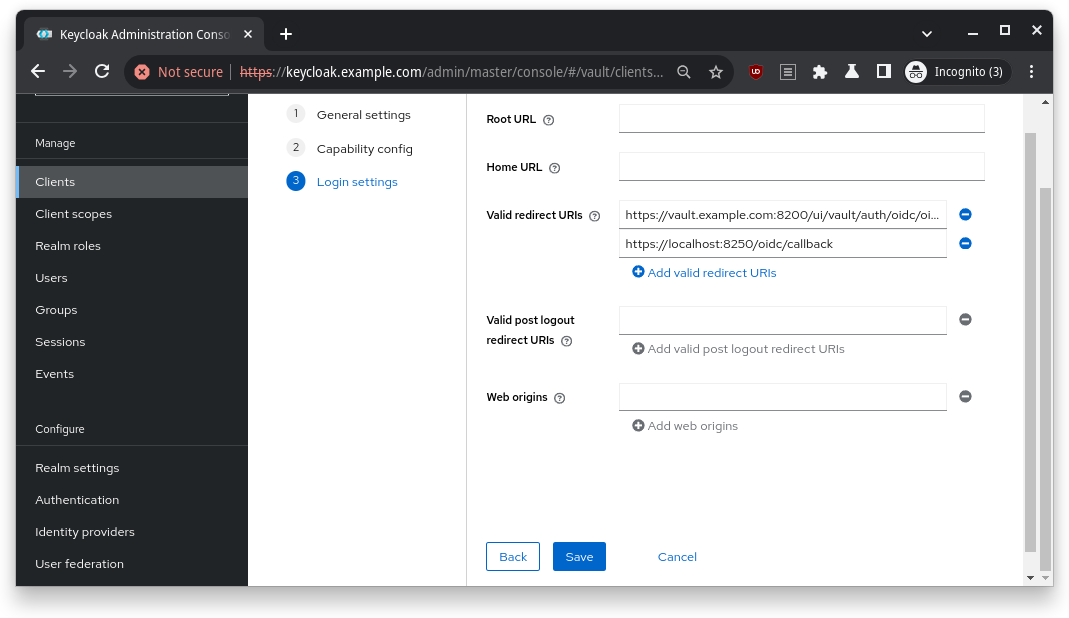
Put following URLs as the Valid redirect URIs and then click Save button
https://vault.example.com:8200/ui/vault/auth/oidc/oidc/callback
https://localhost:8250/oidc/callback
The Client Secret was my golden ticket – I copied it and stored it safely, because I’d need it for Vault’s setup.

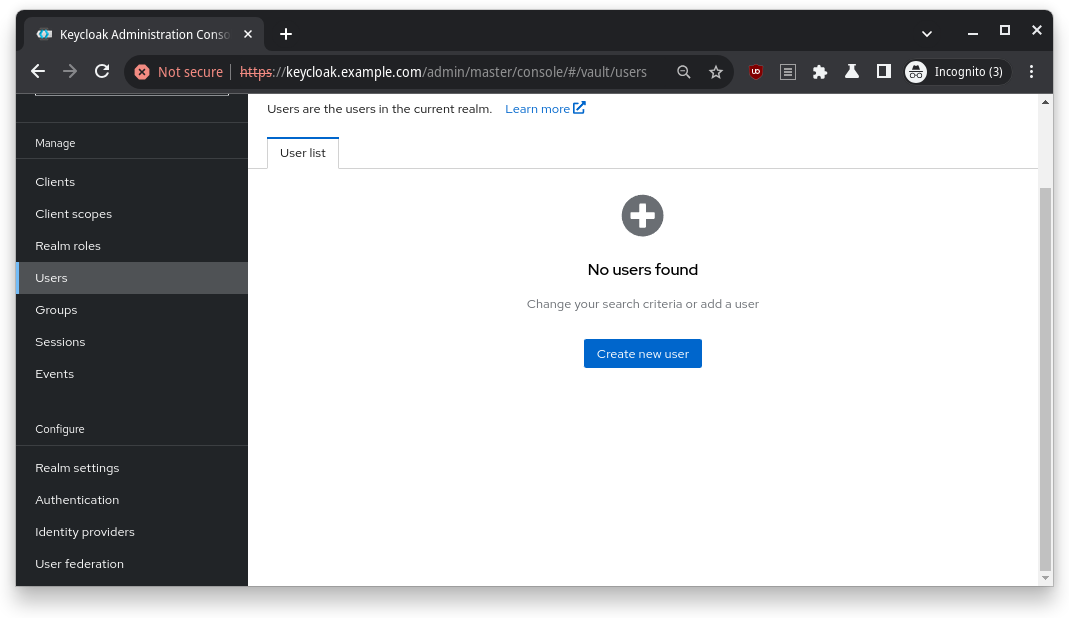
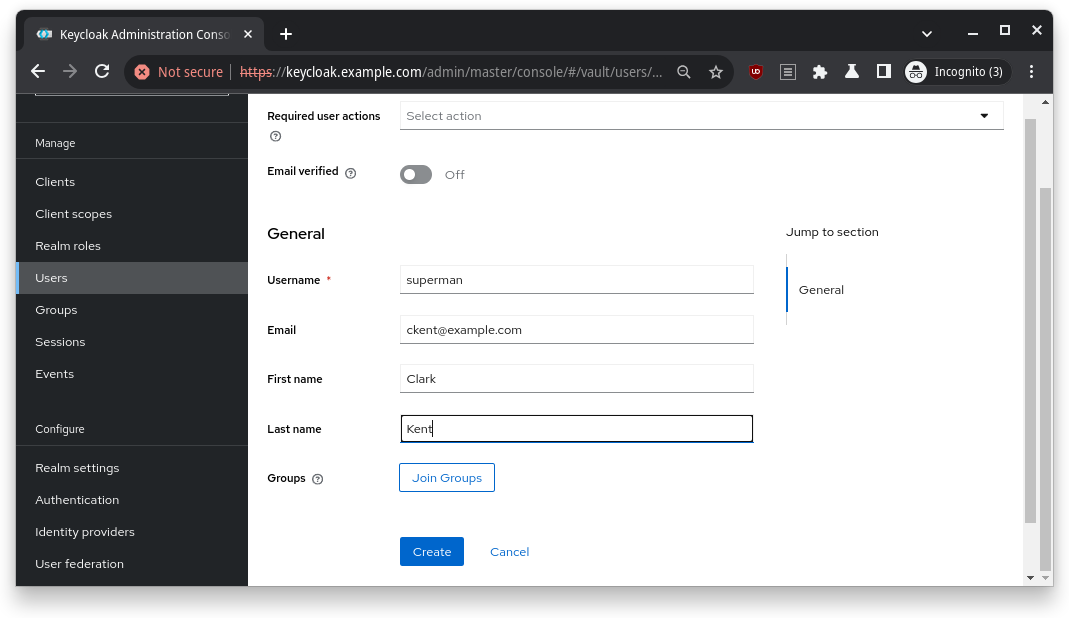
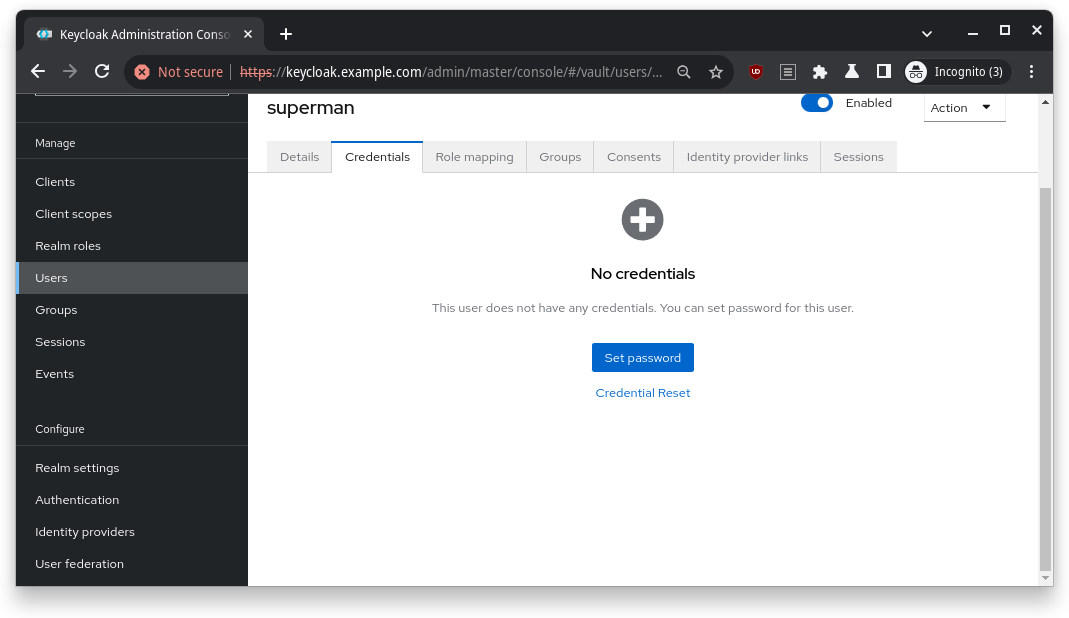
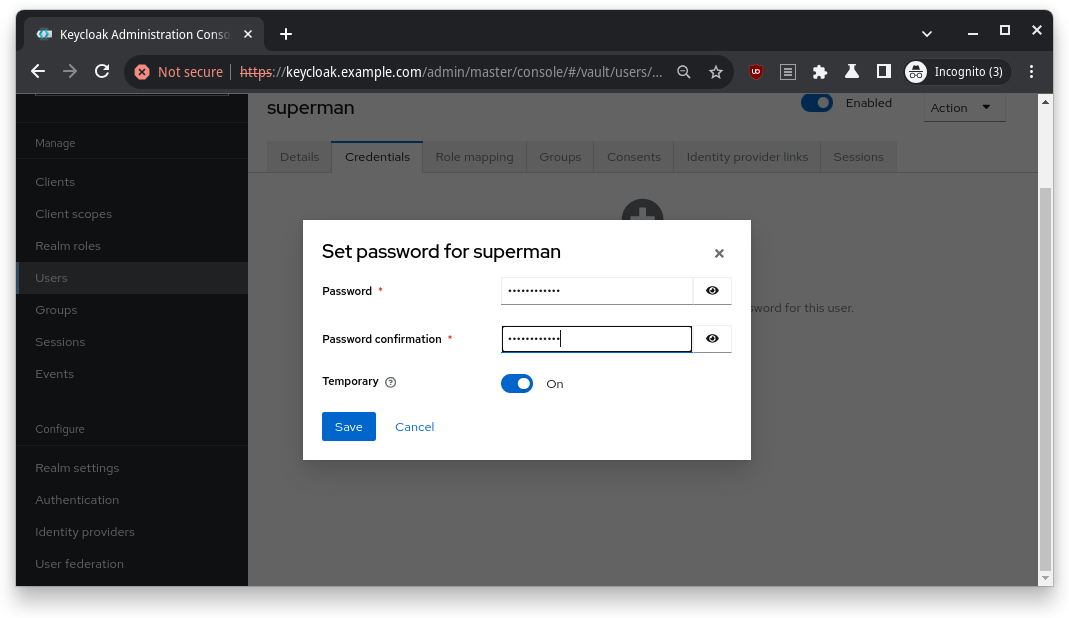
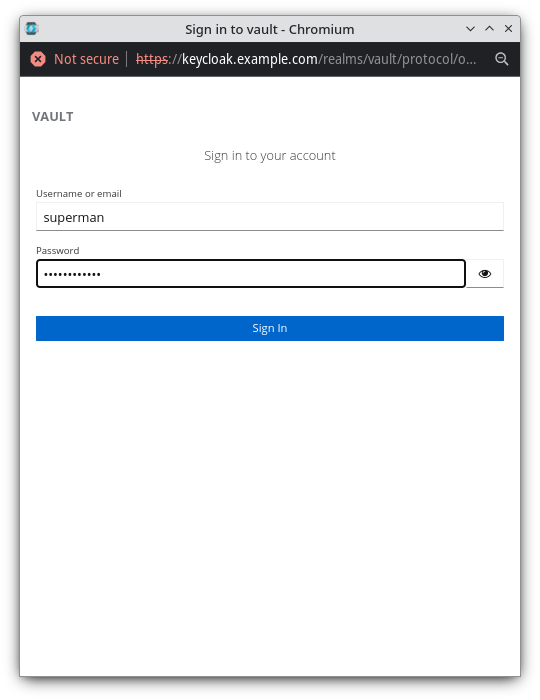
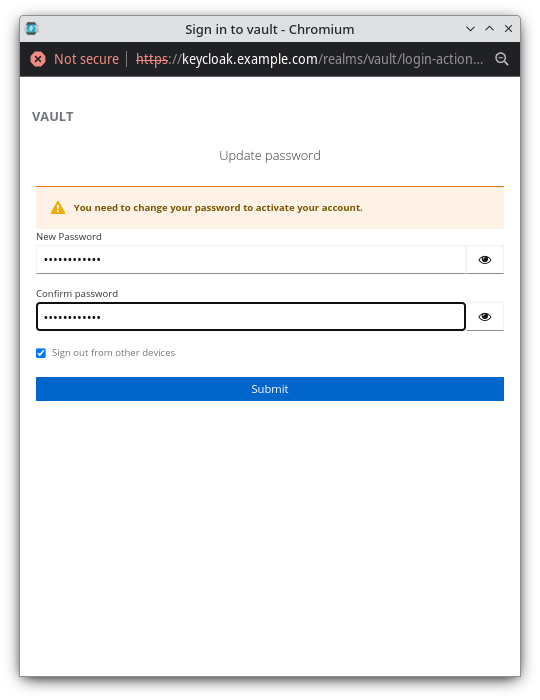
Finally, I created a user and set their password. After clicking around a bit, I had everything ready to go in Keycloak.
Vault Configuration: Getting Everything in Sync
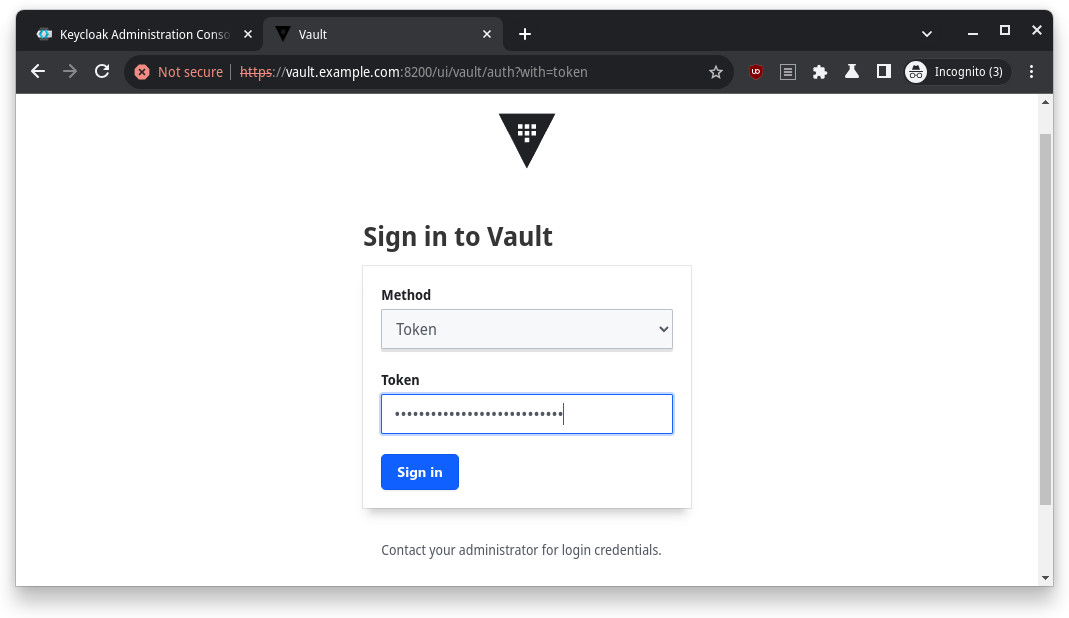
With Keycloak prepped, it was time to jump into Vault. First, I logged in with the Initial Root Token that I grabbed earlier from make info.
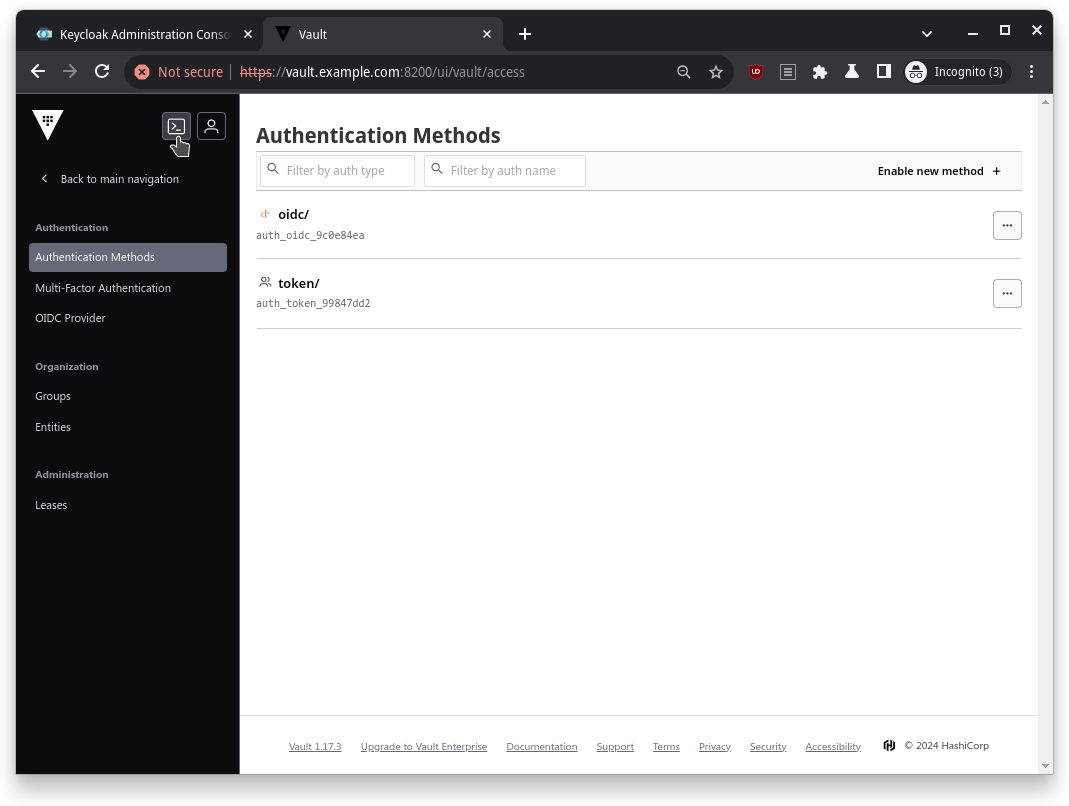
Next, I enabled the OIDC authentication method – this is how Vault would authenticate using Keycloak.
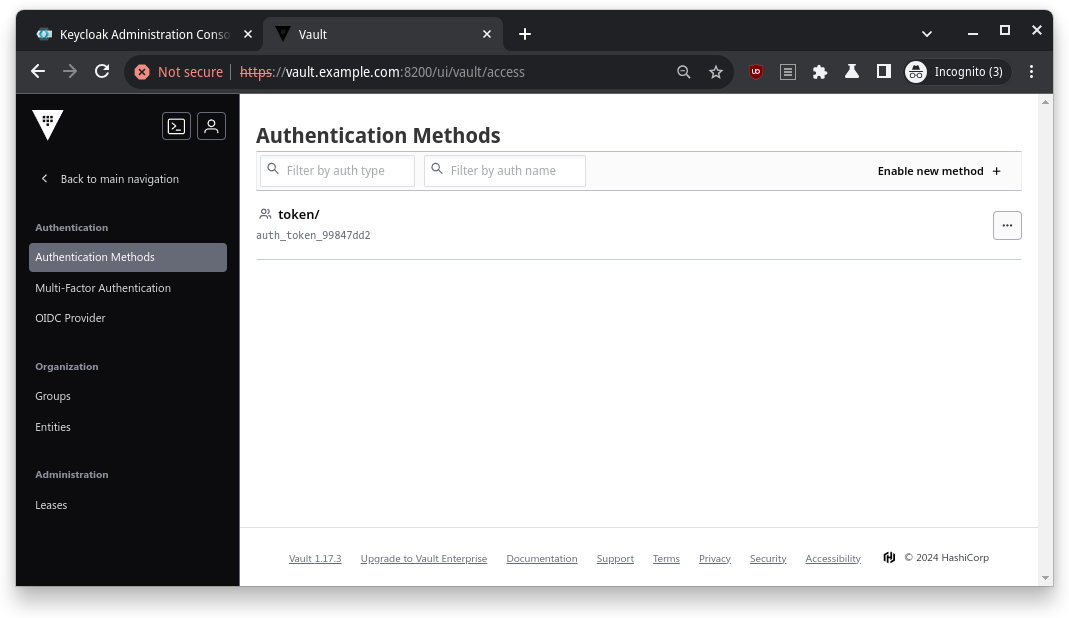
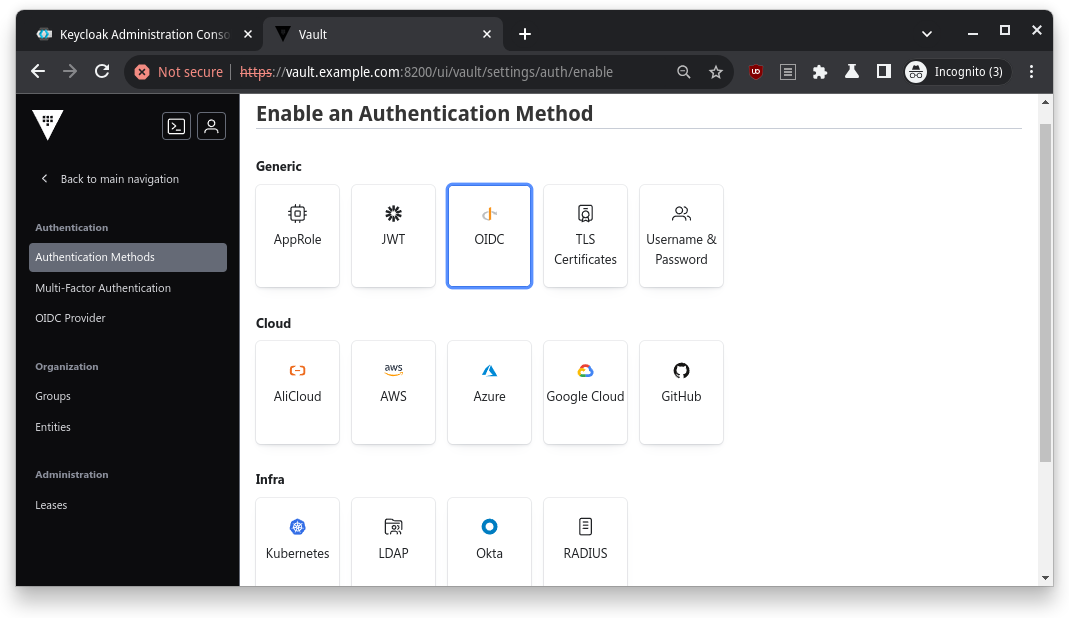
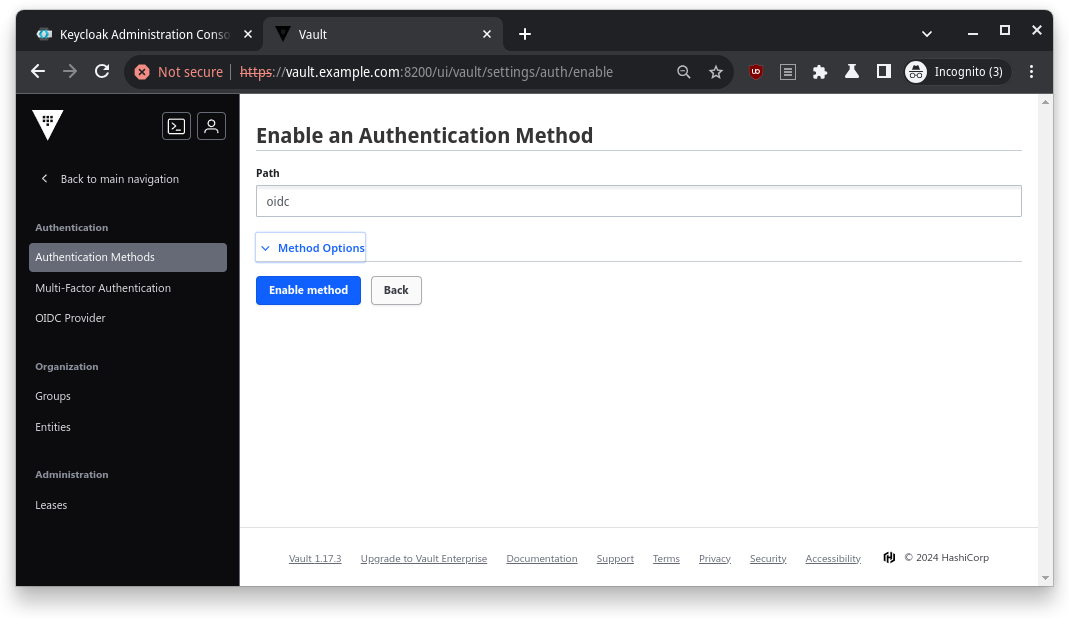
I went to Access > Authentication Methods, clicked on Enable new method, and selected OIDC.
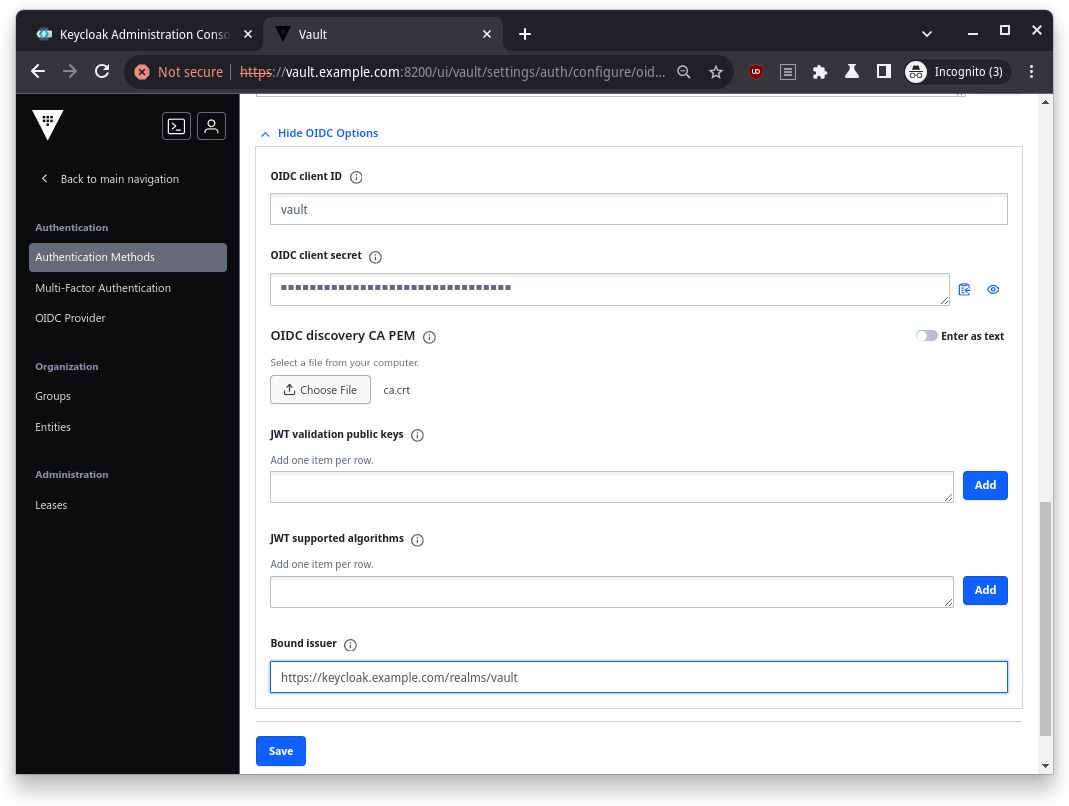
Then, I filled in the OIDC details:
| Name | Value |
|---|---|
| OIDC Discovery URL | https://keycloak.example.com/realms/vault |
| Default Role | default |
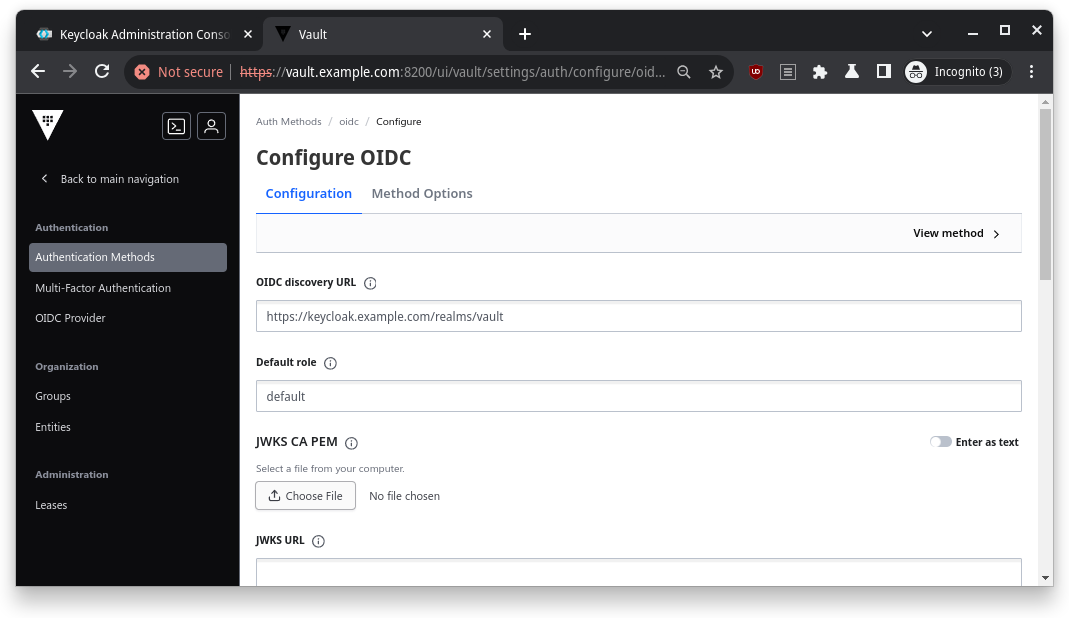
After that, I entered the credentials I got from Keycloak (the Client ID and Client Secret) and pointed Vault to my CA PEM file (ca.crt).
| Name | Value |
|---|---|
| OIDC client ID | vault |
| OIDC client secret | Credentials copied from Keycloak client credentials |
| OIDC discovery CA PEM | ca.crt in certs directory |
| Bound issuer | https://keycloak.example.com/realms/vault |
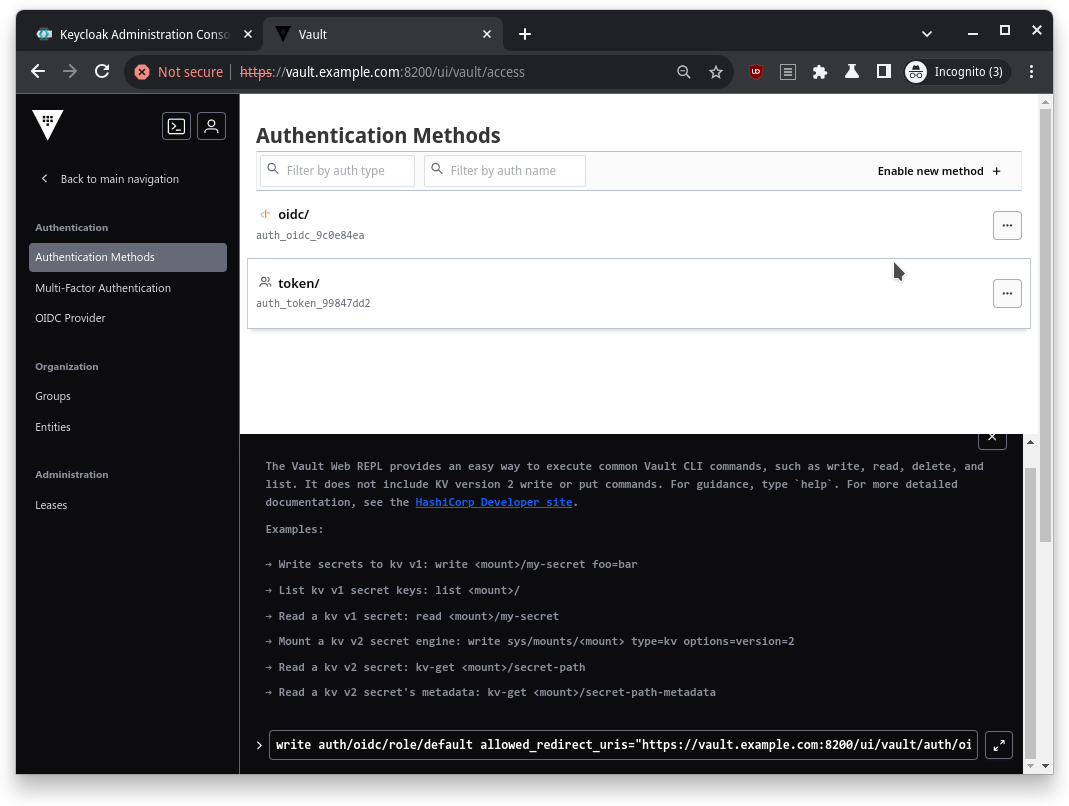
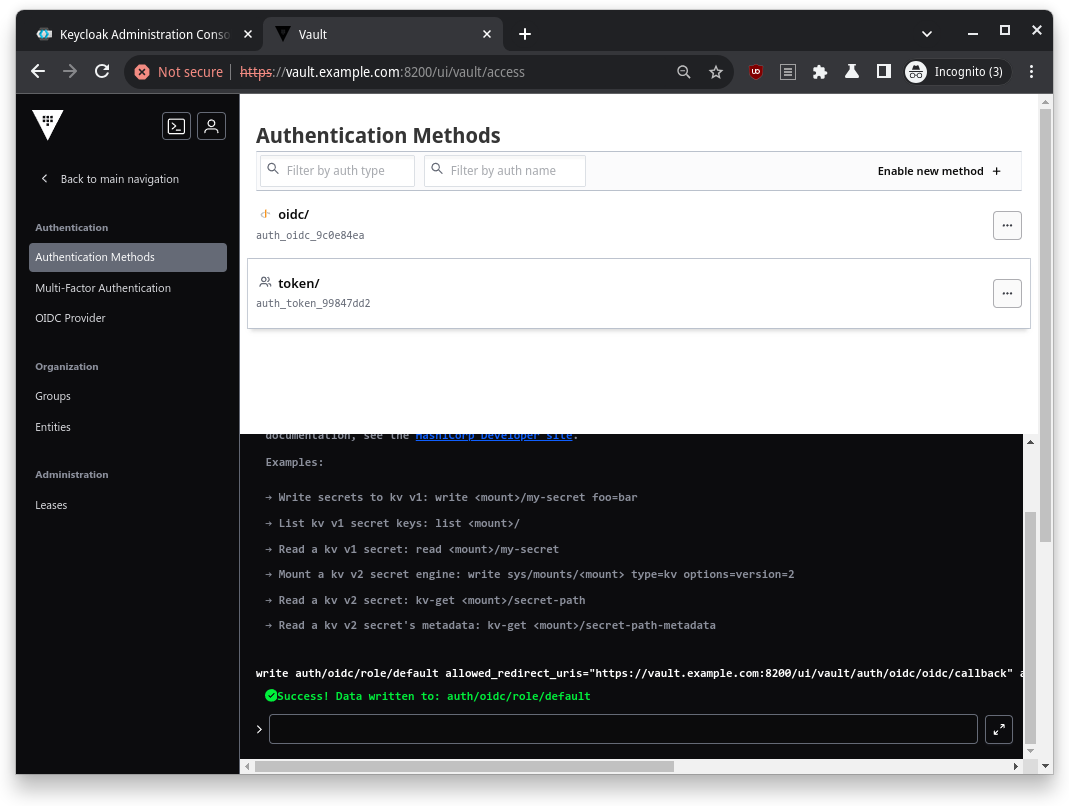
I also had to create a Vault role for OIDC. This role was like the VIP list, allowing only the right people to access Vault. Here’s the command I used to create it:
write auth/oidc/role/default allowed_redirect_uris="https://vault.example.com:8200/ui/vault/auth/oidc/oidc/callback" allowed_redirect_uris="https://localhost:8250/oidc/callback" user_claim="sub" policies="default"
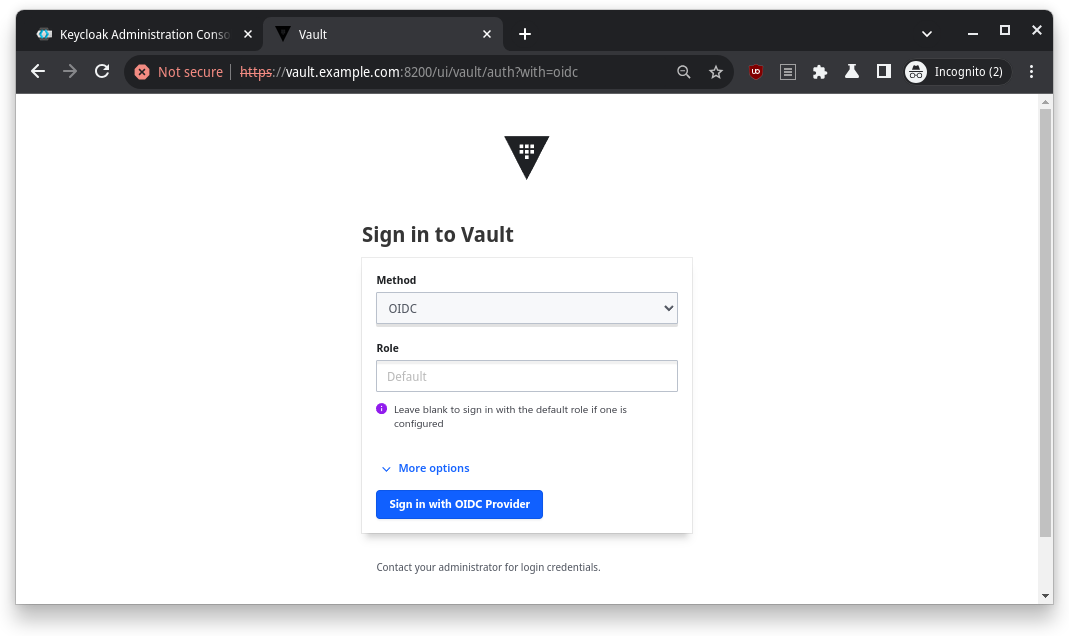
Now that everything was set up, I logged out and will try to login back into Vault using the OIDC method.
The Grand Finale: Testing Everything
Once everything was set up, it was time for the ultimate test: logging into Vault via Keycloak. I went through the OIDC login flow, entered the credentials I’d set up in Keycloak, and voila! I was logged into Vault.
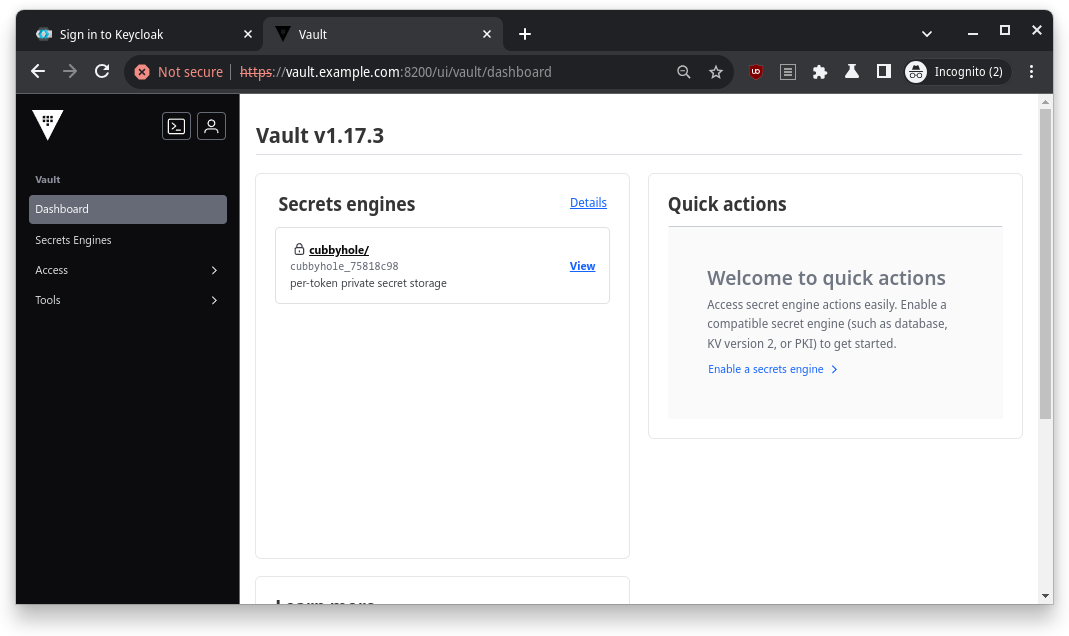
It was like watching a movie where all the heroes come together at the end, and everything just works. Cue the applause.
Clean-Up: Wrapping It All Up
Finally, when I was done basking in the glory of my success, I cleaned up by tearing down all the containers. Running this command did the trick:
make clean
And just like that, my digital playground was put back in order, ready for the next adventure.
So, there you have it – my journey through integrating Keycloak, Vault, and Consul. It was a wild ride, filled with commands, configuration files, and a lot of fun moments. If you’re ever tasked with setting up this trio, just remember: it’s like assembling your own superhero team. Once you get the hang of it, the whole process becomes a well-oiled machine. And my GitHub project here should make your life easier.
Thanks for following along with me! Until next time, happy hacking!